Which Flooring Thickness Do I Need and How Many Tiles?
Choosing a thickness
All our tiles are 1m × 1m, made from dense SBR rubber, in plain black or black with white fleck. The thickness decides how much impact the tile absorbs, how much sound it damps, and how heavy it is to handle.
| Thickness | Best for | Dropped weight guide | Weight per tile |
|---|---|---|---|
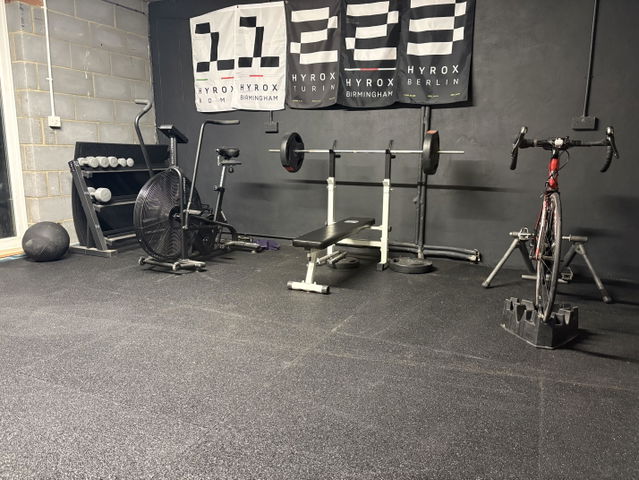
| 10mm | Cardio machines, benches, light dumbbells, yoga and stretching areas | Up to 80kg | About 9.5kg |
| 15mm | General home gyms, moderate dumbbell training, multi-use rooms | Up to 110kg | About 13.5kg |
| 20mm | Free-weight areas, heavier dumbbells, racks, general commercial use | Up to 140kg | About 17.5kg |
| 30mm | Heavy strength training, power racks, higher-impact lifting | Up to 200kg | About 26kg |
| 40mm | Olympic lifting and repeated heavy drops | Up to 260kg | About 34kg |
The drop figures are a guide. The right thickness also depends on your subfloor, the drop height and how often weights are dropped. As a rule of thumb, use at least 20mm where free weights are used and at least 30mm for Olympic lifting or anywhere bars are dropped regularly. Where ceiling height is tight or heat from underfloor heating matters, 10mm or 15mm keeps the build-up down.
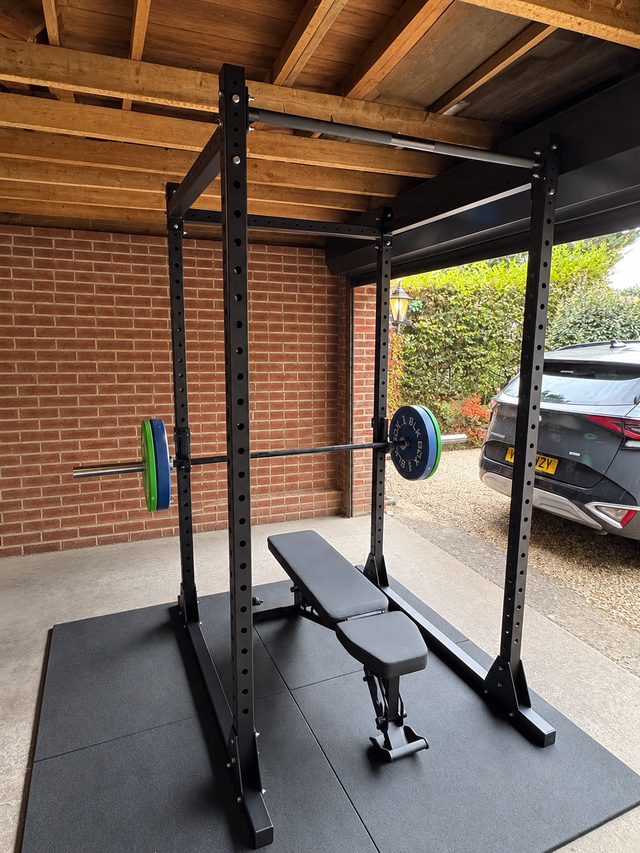
Our most popular choice for a home gym with a rack and free weights is 20mm. It protects a concrete floor from dropped dumbbells and plates, damps the noise, and is still light enough to lay single-handed.
Connectors by thickness
-
20mm, 30mm and 40mm have recesses underneath for push-fit connectors, which hold the floor together. We suggest 3 to 4 connectors per tile for a floor that isn't wall to wall. They're optional for a wall-to-wall brick-pattern layout.
-
10mm and 15mm are lay-flat tiles and don't take connectors. Their weight holds them in place; use adhesive on open edges.
See Gym Floor Connectors – Guide & Compatibility.
How many tiles do I need?
Each tile covers exactly 1m², so start with your floor area in square metres.
-
Measure the room length and width in metres and multiply them. For an L-shaped room, split it into rectangles and add them up.
-
Round up to whole tiles. A 3.4m × 4.2m room is 14.28m², so 15 tiles before spares.
-
Add spares for cuts. We suggest adding about 10%, or at least 2 or 3 tiles, when the room isn't a whole number of metres in each direction or has obstacles such as pillars, doorways or a boiler. The offcuts from one tile often can't be reused on the other side of the room, and a brick-pattern layout uses half tiles at alternate row ends.
-
Check the bulk tiers. If you're close to 10, 25, 50, 100 or 200 tiles, the extra tiles may cost very little once the discount kicks in.
Our gym flooring calculator does the arithmetic for you, including the 10% allowance, and shows the price at your quantity.
Laying out the floor
-
Acclimatise the tiles indoors for 24 hours before laying.
-
Start from the centre of the room and work out towards the walls, so the cut tiles sit at the edges.
-
Lay in a staggered brick pattern: a full row, then the next row offset by half a tile. This hides small size differences between tiles and stops long straight joints opening up.
-
Dry lay first and rotate or swap tiles to tighten the joints before fixing anything.
-
Leave a 5mm to 10mm gap at the walls for expansion.
Tile size and tolerance
Tiles are a nominal 1m × 1m. Moulded rubber shrinks slightly as it cools, so 15mm to 40mm tiles are made to a tolerance of 0.4% to 1% (about 990mm to 1010mm) and 10mm tiles to ±1.5%. A tile within tolerance meets the specification. Please measure tiles soon after delivery and before cutting or gluing, and report any concerns straight away. The brick-pattern layout and dry lay above are the best way to hide small differences.
Still not sure?
Order samples of two thicknesses for £7.99 postage, or message us with your room size, what you'll be training with, and what the floor underneath is, and we'll recommend a thickness and quantity.