Installation Guide: What You'll Learn
- Installation Overview
- Step 1: Preparation
- Step 2: Layout & Cutting
- Step 3: Connecting Mats
- Step 4: Securing Installation
- Professional Installation
- Troubleshooting Common Issues
- Post-Installation Maintenance
- Frequently Asked Questions
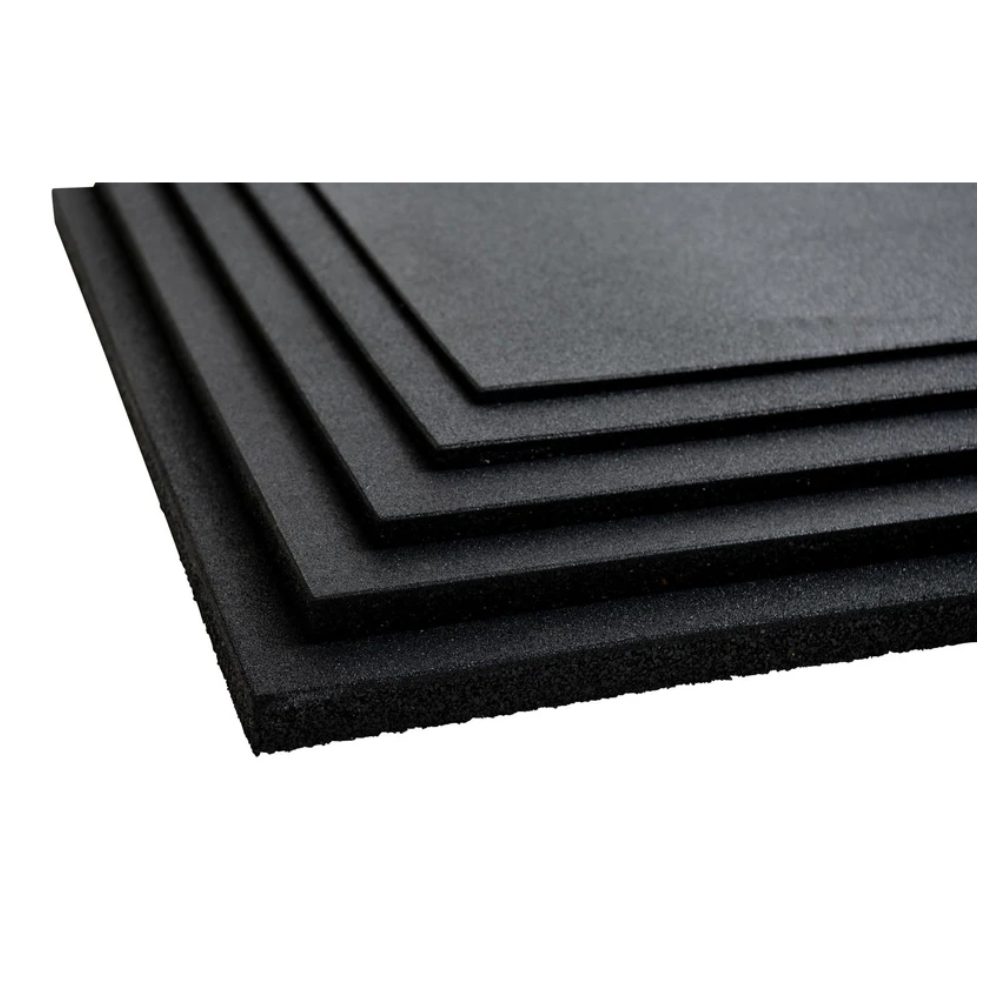
Installing rubber gym flooring correctly is crucial for safety, performance, and longevity. Whether you're setting up a home gym or outfitting a commercial facility, this comprehensive installation guide covers everything from preparation to final securing. Follow our proven 4-step process for professional results.
Quick Answer: Rubber gym flooring installation involves 4 key steps: Prepare the subfloor, Layout & Cut mats to fit, Connect interlocking edges, and Secure in place. Proper preparation and acclimation are essential for success.
Rubber Gym Flooring Installation Overview
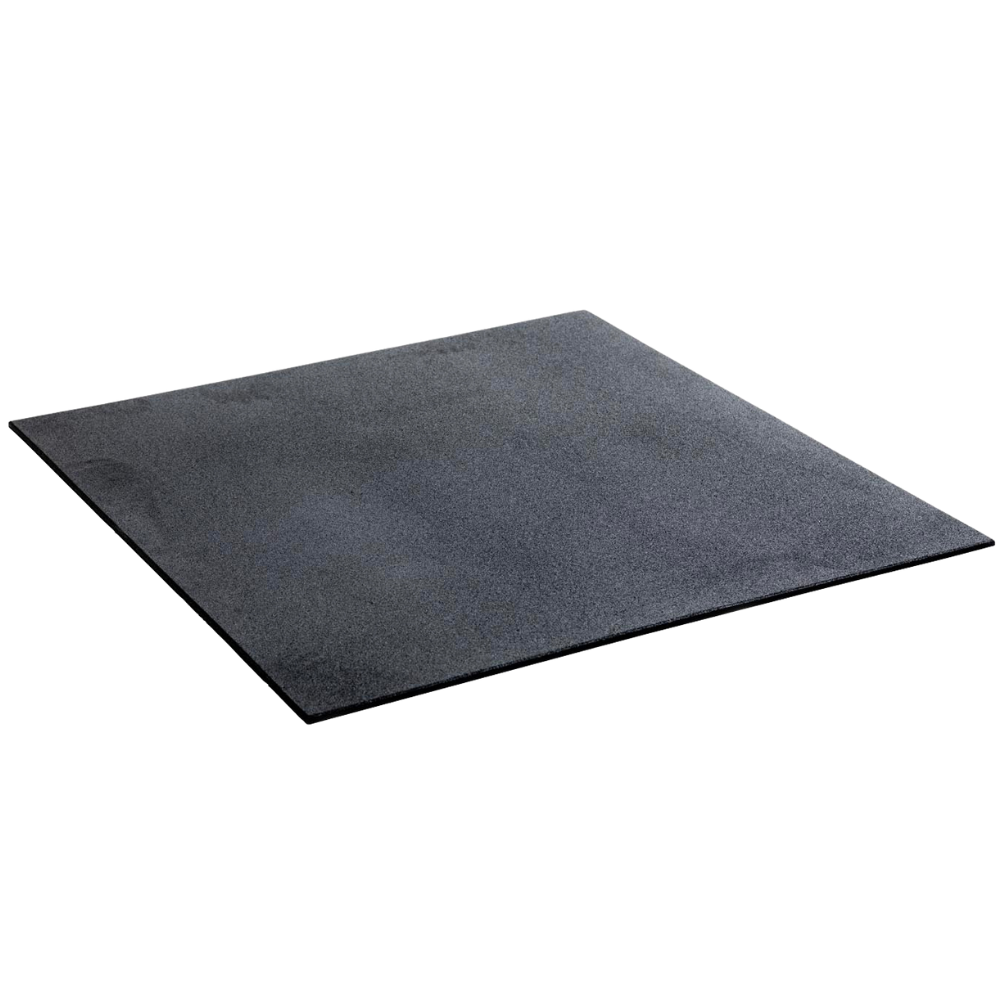
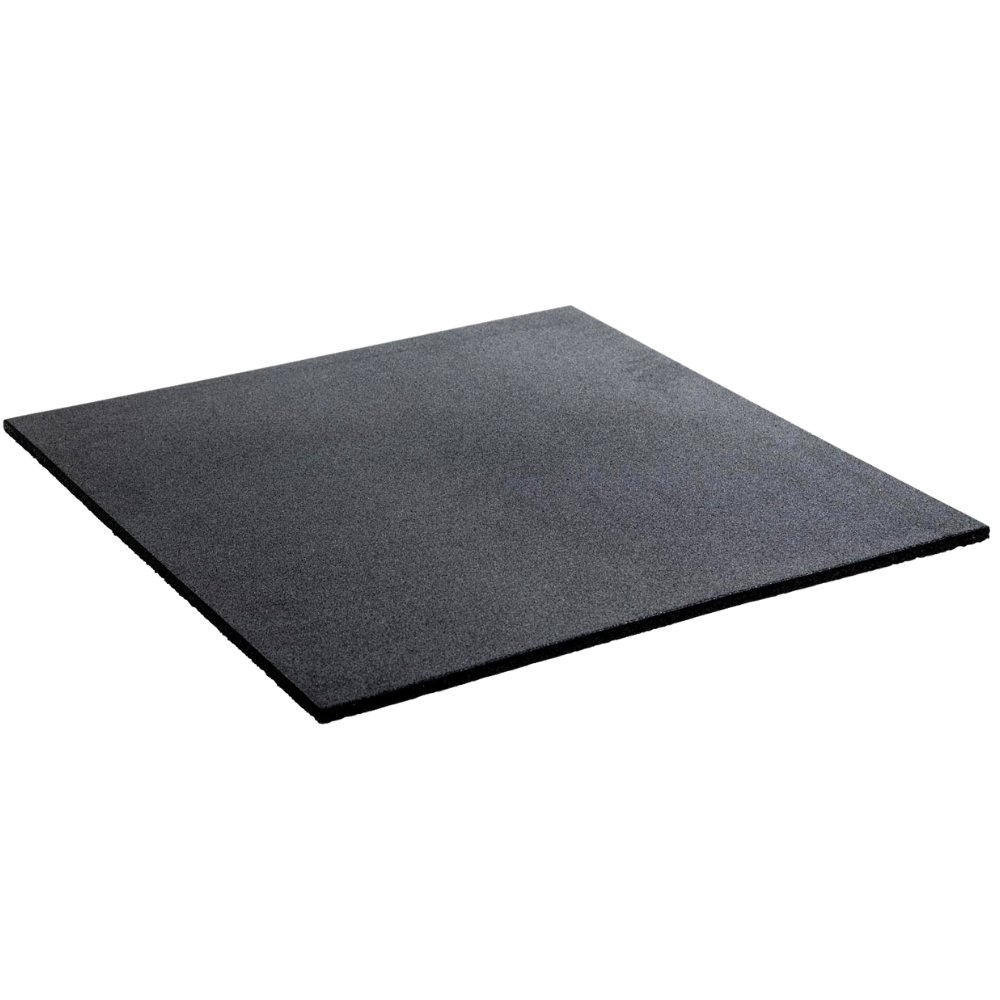
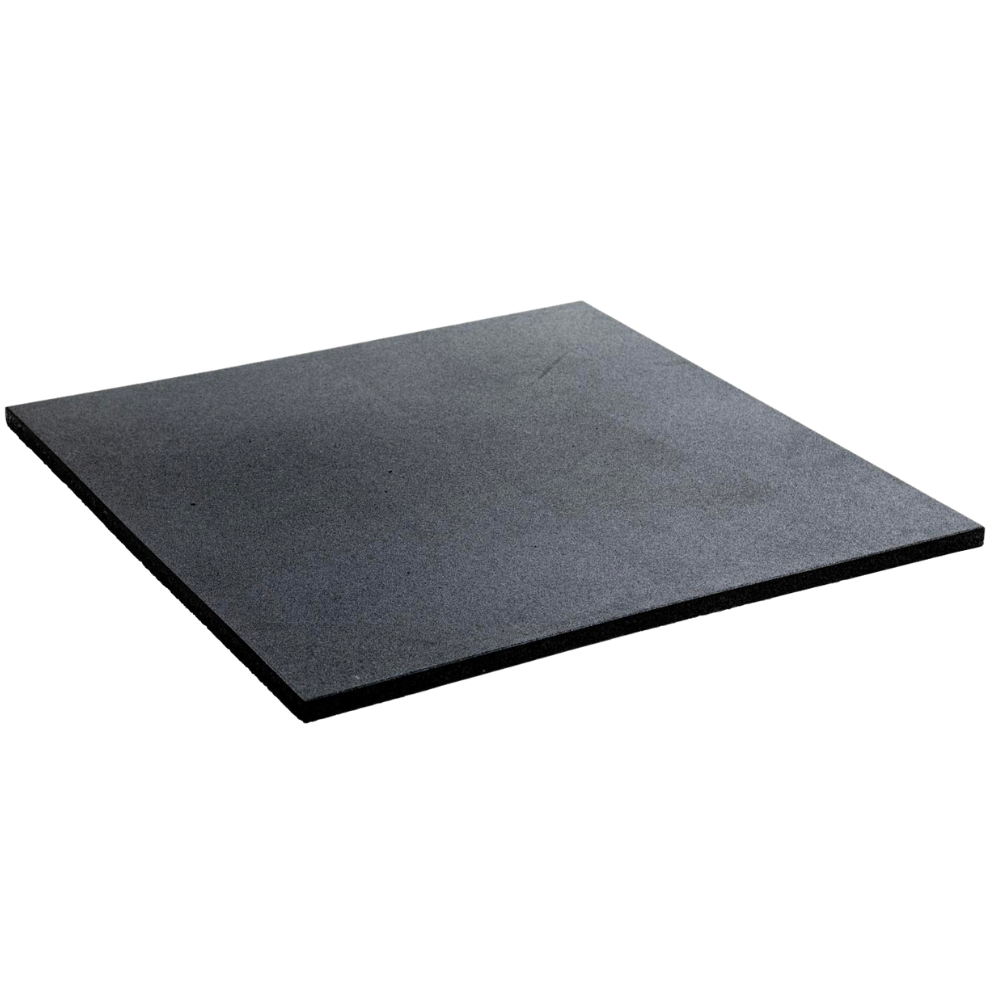
Our rubber gym flooring installation process is designed for both DIY enthusiasts and professional installers. The system uses interlocking puzzle-piece edges that create a seamless, secure fit without requiring adhesives or tapes.
What You'll Need:
- Rubber gym flooring mats (calculate 5-10% extra for waste)
- Utility knife with sharp blades
- Straight edge or ruler for cutting
- Measuring tape
- Chalk line (for large areas)
- Level to check subfloor
- Cleaning supplies (broom, vacuum, mild detergent)
Installation Time Estimates
- Small home gym (10m²): 2-4 hours
- Medium home gym (25m²): 4-8 hours
- Large home gym (50m²): 8-16 hours
- Commercial facility (100m²+): 1-3 days (professional recommended)
Step 1: Preparation
Proper preparation is the foundation of a successful rubber gym flooring installation. This step ensures your flooring will perform optimally and last for years.
Acclimate the Mats
Allow mats to acclimate to room temperature for 24 hours. This is crucial for preventing expansion or contraction after installation. Store mats flat in the room where they'll be installed, away from direct sunlight and heat sources.
Why Acclimation Matters
Rubber expands and contracts with temperature changes. Installing mats before acclimation can cause gaps, buckling, or other issues that are difficult to fix later.
Prepare the Subfloor
Clean and dry the subfloor, ensuring it's level and free from dust and debris.
Subfloor Requirements:
- Level surface: No more than 3mm variation over 3 meters
- Clean and dry: Remove all dust, dirt, and moisture
- Solid base: Concrete, wood, or tile subfloors work best
- No carpet: Remove carpet before installation
Cleaning Process:
- Sweep or vacuum to remove loose debris
- Wash with mild detergent and warm water
- Rinse thoroughly and allow to dry completely
- Check for any remaining dust or particles
Measure and Plan
- Measure the room dimensions accurately
- Calculate total square footage needed
- Add 5-10% for waste and cutting
- Plan the layout to minimize cuts and waste
Step 2: Layout & Cutting
Proper layout and cutting techniques ensure a professional-looking installation with minimal waste.
Layout Strategy
Begin from the centre of the room and work outward in a staggered brick pattern. This approach provides the most stable installation and best visual appearance.
Layout Steps:
- Find the room center: Measure and mark the center point
- Dry lay first row: Place mats without connecting to check fit
- Stagger the pattern: Offset each row by half a mat width
- Work outward: Continue from center to walls
- Check alignment: Ensure straight lines and proper spacing
Why Stagger the Pattern?
Staggering creates a more stable installation by distributing seams across the floor. This prevents weak points and provides better load distribution for heavy equipment.
Positioning and Fitting
Position mats tightly edge-to-edge. There should be no gaps between mats, but also no overlapping that could cause buckling.
Cutting Techniques
Trim as needed using a straight edge and utility knife for walls, corners, or obstacles.
Cutting Process:
- Measure twice, cut once: Double-check measurements before cutting
- Use a straight edge: Guide the utility knife for clean, straight cuts
- Cut from the back: Score the back side first, then cut through
- Sharp blades: Use fresh utility knife blades for clean cuts
- Test fit: Check the cut piece before proceeding
Cutting Around Obstacles:
- Pipes: Measure diameter and cut circular holes
- Corners: Use a template for complex angles
- Doorways: Cut to fit under door frames
- Equipment bases: Cut around permanent fixtures
Step 3: Connecting Mats
Proper connection ensures a seamless, secure installation that will withstand heavy use.
Interlock the Edges
Interlock the puzzle-piece edges of adjacent mats firmly. The interlocking system creates a strong, stable connection without gaps.
Connection Process:
- Align the edges: Position mats so puzzle pieces align
- Press firmly: Push mats together until they click into place
- Check connection: Ensure no gaps between mats
- Work systematically: Connect one mat at a time
- Maintain pattern: Keep the staggered layout consistent
Wall Edges
For wall edges, measure and cut mats to fit using a utility knife. Leave a small expansion gap (2-3mm) between the flooring and walls.
Wall Edge Tips:
- Measure precisely: Account for the expansion gap
- Cut carefully: Use a straight edge for clean cuts
- Test fit: Ensure the cut piece fits properly
- Check level: Ensure the edge is straight and level
Quality Control
Ensure all connections are secure with no gaps between mats.
Connection Checklist:
- All puzzle pieces are fully engaged
- No gaps between adjacent mats
- Mats are level with each other
- Pattern is consistent throughout
- Wall edges are properly fitted
Step 4: Securing Installation
The final step ensures your installation remains stable and secure over time.
Natural Securing
Once in place, the mats will stay securely positioned thanks to their weight and tight fit. The interlocking system and the weight of the rubber mats provide excellent stability.
Why No Adhesives Are Needed:
- Weight: Rubber mats are heavy enough to stay in place
- Friction: The interlocking system creates friction
- Flexibility: Allows for natural expansion and contraction
- Maintenance: Easier to replace individual mats if needed
Final Inspection
No adhesives or tapes are required. However, perform a thorough inspection to ensure everything is properly installed.
Final Checklist:
- Walk across the entire floor to check for movement
- Verify all connections are secure
- Check that mats are level with each other
- Ensure no gaps or overlaps
- Test with light equipment to ensure stability
Optional Securing Methods
While not required, you may consider these additional securing methods for high-traffic areas:
Double-Sided Tape:
- Apply to the back of perimeter mats
- Helps prevent edge lifting
- Easy to remove if needed
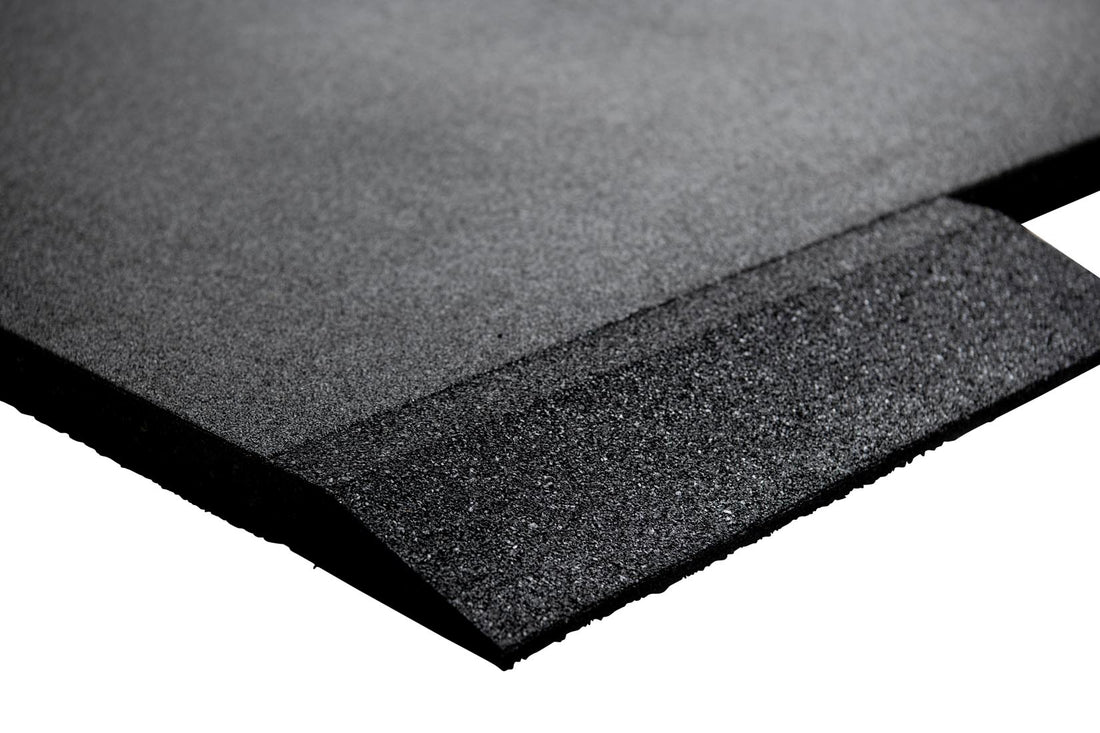
Perimeter Molding:
- Install around the edges
- Provides a finished look
- Helps secure the perimeter
When to Choose Professional Installation
While DIY installation is possible for most home gyms, professional installation may be necessary for certain situations.
When to Consider Professional Installation:
- Large commercial facilities (100m² or more)
- Complex layouts with many obstacles
- Uneven subfloors requiring leveling
- Time constraints or lack of DIY experience
- Special requirements like soundproofing or fire resistance
Professional Installation Benefits:
- Expert knowledge of best practices
- Professional tools and equipment
- Warranty coverage on installation work
- Faster completion time
- Problem solving for complex situations
Bulk Pricing for Commercial Orders
We offer competitive bulk pricing for companies and commercial facilities. Contact us for special rates on large orders and commercial projects. Our team can help you plan your flooring requirements and provide expert advice on the best solutions for your space.
Troubleshooting Common Installation Issues
Even with careful preparation, you may encounter some common issues. Here's how to solve them:
Gaps Between Mats
Problem: Small gaps appearing between mats
Solution:
- Check that all puzzle pieces are fully engaged
- Ensure mats are properly aligned
- Verify the subfloor is level
- Allow more time for acclimation if needed
Mats Not Laying Flat
Problem: Mats curling or not sitting flat
Solution:
- Check for debris under the mats
- Ensure proper acclimation time
- Verify the subfloor is clean and level
- Apply weight to help flatten the mats
Difficulty Connecting Mats
Problem: Puzzle pieces not fitting together
Solution:
- Check for manufacturing defects
- Ensure mats are from the same batch
- Clean the puzzle piece edges
- Try a different mat in that position
Mats Moving or Shifting
Problem: Mats sliding or moving during use
Solution:
- Ensure all connections are secure
- Check that the subfloor is clean and dry
- Consider using double-sided tape on perimeter
- Verify the installation is properly completed
Post-Installation Maintenance
Proper maintenance ensures your rubber gym flooring continues to perform optimally for years to come.
Immediate Post-Installation
- Wait 24 hours before heavy use
- Light use only for the first week
- Check connections regularly for the first month
- Monitor for gaps or movement
Regular Maintenance
- Daily: Sweep or vacuum to remove debris
- Weekly: Deep clean with pH-neutral cleaner
- Monthly: Check all connections and edges
- As needed: Address any gaps or movement immediately
Signs of Problems
- Gaps appearing between mats
- Mats moving or shifting
- Edges lifting or curling
- Visible wear patterns
Frequently Asked Questions About Installation
How long does rubber gym flooring installation take?
Installation time varies by size: small home gyms (10m²) take 2-4 hours, medium gyms (25m²) take 4-8 hours, and large gyms (50m²) take 8-16 hours. Commercial facilities may take 1-3 days.
Do I need to glue down rubber gym flooring?
No, rubber gym flooring with interlocking edges doesn't require glue or adhesives. The weight of the mats and the interlocking system provide sufficient stability for most applications.
Can I install rubber gym flooring over carpet?
No, rubber flooring should be installed over a solid, level surface. Carpet can compress and cause the rubber to shift or crack. Remove carpet and install over concrete, wood, or tile subfloors.
What tools do I need for installation?
You'll need a utility knife with sharp blades, a straight edge or ruler, measuring tape, chalk line (for large areas), level, and cleaning supplies. No special tools are required.
How do I cut rubber gym flooring?
Use a sharp utility knife and straight edge. Score the back side first, then cut through. Always measure twice and cut once. For complex cuts, create a template first.
Can I install rubber gym flooring myself?
Yes, most home gym installations can be done DIY with proper preparation and following our 4-step process. For large commercial facilities or complex layouts, professional installation is recommended.
What if my subfloor isn't level?
Minor unevenness (up to 3mm over 3 meters) is acceptable. For more significant unevenness, consider leveling the subfloor or using a professional installer who can address the issue.
How do I prevent gaps between mats?
Ensure proper acclimation (24 hours), clean subfloor preparation, and make sure all puzzle pieces are fully engaged. Work systematically and check connections as you go.
Ready to Install Your Rubber Gym Flooring?
Following our proven 4-step installation process will ensure professional results for your rubber gym flooring project. Whether you're setting up a home gym or outfitting a commercial facility, proper installation is key to performance and longevity.
Get Expert Installation Guidance
Need help with your installation? Our team of experts can provide guidance and answer any questions about your rubber gym flooring project. We also offer bulk pricing for commercial orders.

